Azure Functions on IoT Edge
You can use Azure Functions to deploy code that implements your business logic directly to your IoT Edge devices.
This functionality allows developers to utilize the uniquely productive programming model provided by Functions even on the devices which may or may not be connected to the cloud.
This functionality can be used in multiple scenarios such as performing custom processing on data coming from sensors, or filtering the incoming signals based on certain criteria. All of these scenarios which are today possible in the cloud, can now be really easily replicated on IoT Edge devices too.
In this lab you will learn about
-
Create Azure Container Registry.
-
Connect Azure Function.
-
Containerize the function and push it to Container Registry
-
Deploy it to the edge
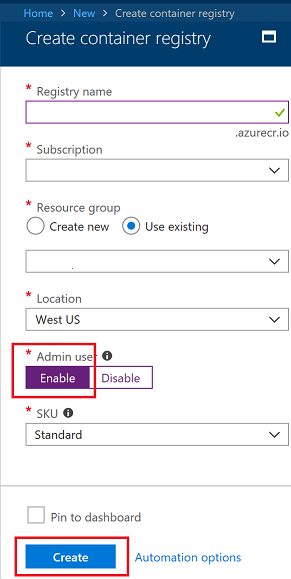
Create Azure Container Registry
Azure Container Registry allows you to store images for all types of container deployments including DC/OS, Docker Swarm, Kubernetes, and Azure services such as App Service, Batch, Service Fabric, and others. Your DevOps team can manage the configuration of apps isolated from the configuration of the hosting environment.
This helps Contoso simplify container development by easily storing and managing container images for Azure deployments in a central registry.
Click on Containers and Container Registry

Enable the admin user to secure the registry and click on Create button
Create a function project
The following steps show you how to create an IoT Edge function using Visual Studio Code and the Azure IoT Edge extension.
- Open Visual Studio Code.
- To open the VS Code integrated terminal, select View > Integrated Terminal.
- To install (or update) the AzureIoTEdgeFunction template in dotnet, run the following command in the integrated terminal:
dotnet new -i Microsoft.Azure.IoT.Edge.Function
Create a project for the new module. The following command creates the project folder, FilterFunction, with your container repository. The second parameter should be in the form of <your container registry name>.azurecr.io if you are using Azure container registry. Enter the following command in the current working folder:
dotnet new aziotedgefunction -n FilterFunction -r developercertacr.azurecr.io/filterfunction
Select File > Open Folder, then browse to the FilterFunction folder and open the project in VS Code.
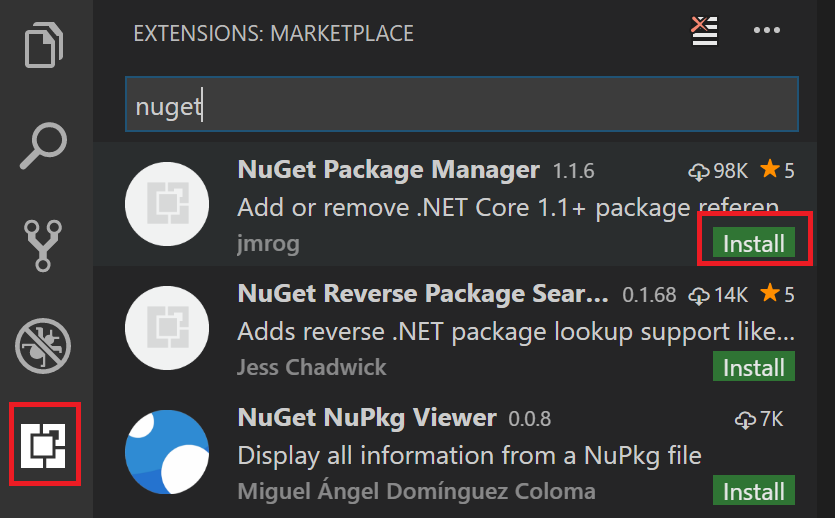
From VSCode extensions add Nuget Package Manager. Click Install
In VS Code explorer, expand the EdgeHubTrigger-Csharp folder, then open the run.csx file.
Replace the contents of the file with the following code:
#r "Microsoft.Azure.Devices.Client"
#r "Newtonsoft.Json"

using System.IO;
using Microsoft.Azure.Devices.Client;
using Newtonsoft.Json;

// Filter messages based on the temperature value in the body of the message and the temperature threshold value.
public static async Task Run(Message messageReceived, IAsyncCollector<Message> output, TraceWriter log)
{
     const int temperatureThreshold = 25;
     byte[] messageBytes = messageReceived.GetBytes();
     var messageString = System.Text.Encoding.UTF8.GetString(messageBytes);

     if (!string.IsNullOrEmpty(messageString))
     {
         // Get the body of the message and deserialize it
         var messageBody = JsonConvert.DeserializeObject<MessageBody>(messageString);

         if (messageBody != null && messageBody.machine.temperature > temperatureThreshold)
         {
             // Send the message to the output as the temperature value is greater than the threashold
             var filteredMessage = new Message(messageBytes);
             // Copy the properties of the original message into the new Message object
             foreach (KeyValuePair<string, string> prop in messageReceived.Properties)
             {
                 filteredMessage.Properties.Add(prop.Key, prop.Value);                }
             // Add a new property to the message to indicate it is an alert
             filteredMessage.Properties.Add("MessageType", "Alert");
             // Send the message
             await output.AddAsync(filteredMessage);
             log.Info("Received and transferred a message with temperature above the threshold");
         }
     }
 }

 //Define the expected schema for the body of incoming messages
 class MessageBody
 {
     public Machine machine {get;set;}
     public Ambient ambient {get; set;}
     public string timeCreated {get; set;}
 }
 class Machine
 {
    public double temperature {get; set;}
    public double pressure {get; set;}
 }
 class Ambient
 {
    public double temperature {get; set;}
    public int humidity {get; set;}
 }
Create a Docker image and publish it to your registry
-
Sign in to Docker by entering the following command in the VS Code integrated terminal:
docker login -u <ACR username> -p <ACR password> <ACR login server>To find the user name, password and login server to use in this command, go to the [Azure portal] (https://portal.azure.com) From All resources, click the tile for your Azure container registry to open its properties, then click Access keys. Copy the values in the Username, password, and Login server fields.
-
Open module.json. Optionally, you can update the
"version"to eg. “1.0”. Also the name of the repository is shown which you entered in the-rparameter ofdotnet new aziotedgefunction. -
Save the module.json file.
-
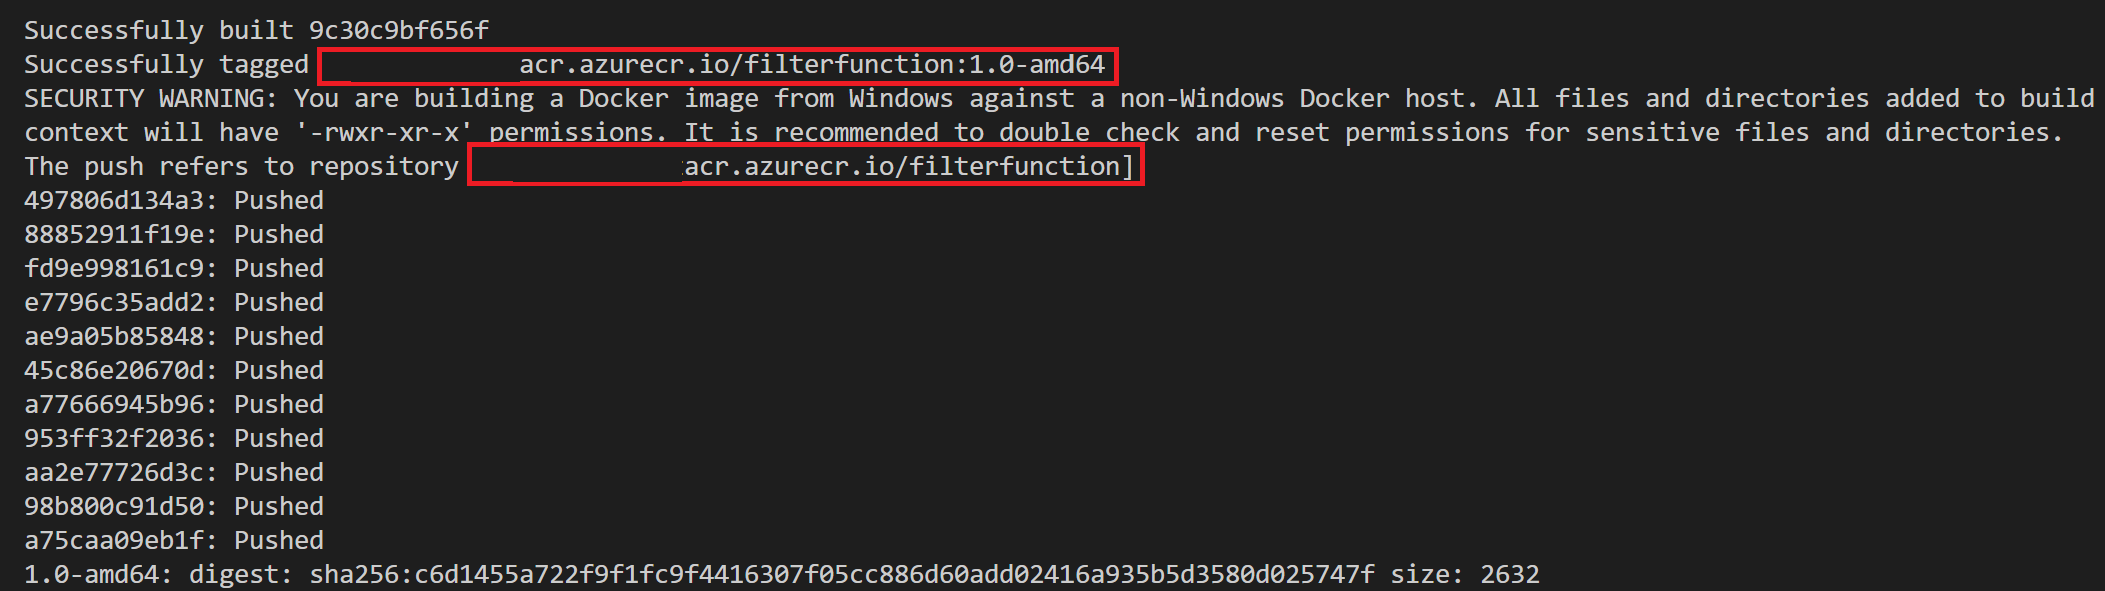
In VS Code explorer, Right-click the module.json file and click Build and Push IoT Edge module Docker image. In the pop-up dropdown box at the top of the VS Code window, select your container platform, select amd64. VS Code then containerizes your function codes and push it to the container registry you specified.
-
You can get the full container image address with tag in the VS Code integrated terminal. For more infomation about the build and push definition, you can refer to the
module.jsonfile.
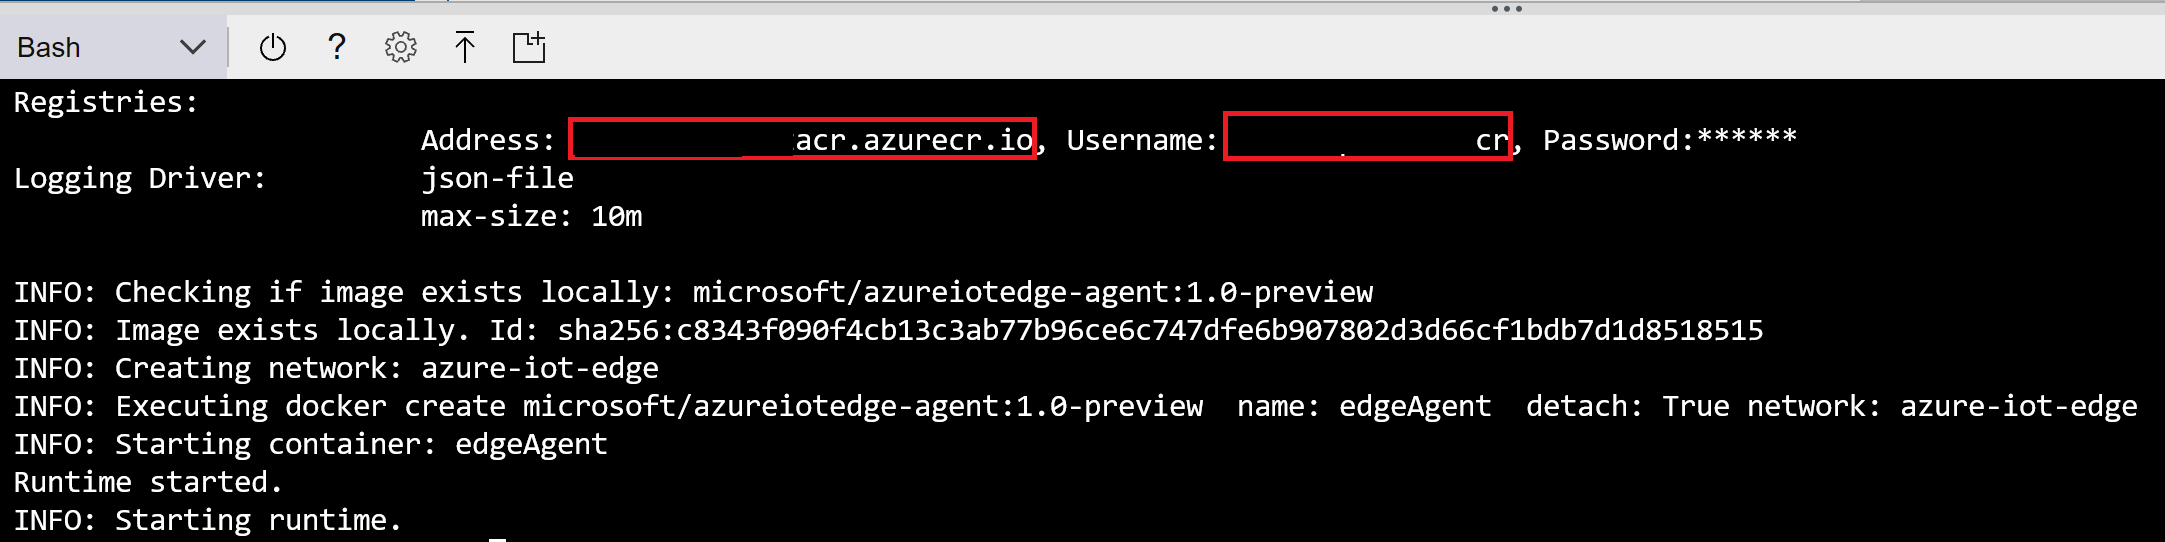
Add registry credentials to your Edge device
Add the credentials for your registry to the Edge runtime on the computer where you are running your Edge device. This gives the runtime access to pull the container.
```cmd/sh
sudo iotedgectl login --address <your container registry address> --username <username> --password <password>
```
Run the solution
-
In the Azure portal, navigate to your IoT hub.
-
Go to IoT Edge (preview) and select your IoT Edge device.
-
Select Set Modules.
- Add the filterFunction module.
- Select Add IoT Edge Module again.
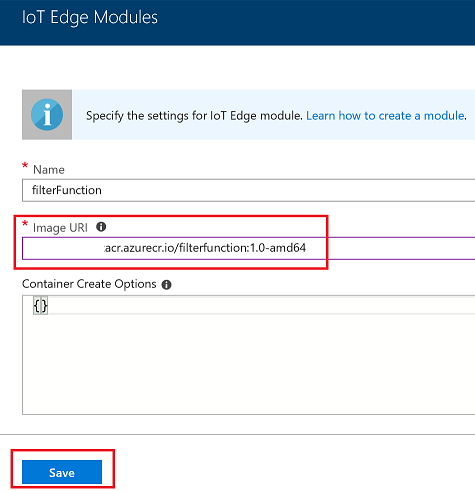
- In the Name field, enter
filterFunction. - In the Image URI field, enter your image address; for example
<your container registry address>/filterfunction:0.0.1-amd64. The full image address can be found from the previous section. - Click Save.
-
Click Next.
-
In the Specify Routes step, copy the JSON below into the text box. The first route transports messages from the temperature sensor to the filter module via the “input1” endpoint. The second route transports messages from the filter module to IoT Hub. In this route,
$upstreamis a special destination that tells Edge Hub to send messages to IoT Hub. Add this to existing routes."sensorToFilter":"FROM /messages/modules/tempSensor/outputs/temperatureOutput INTO BrokeredEndpoint(\"/modules/filterFunction/inputs/input1\")", "filterToIoTHub":"FROM /messages/modules/filterFunction/outputs/* INTO $upstream"
-
Click Next.
-
In the Review Template step, click Submit.
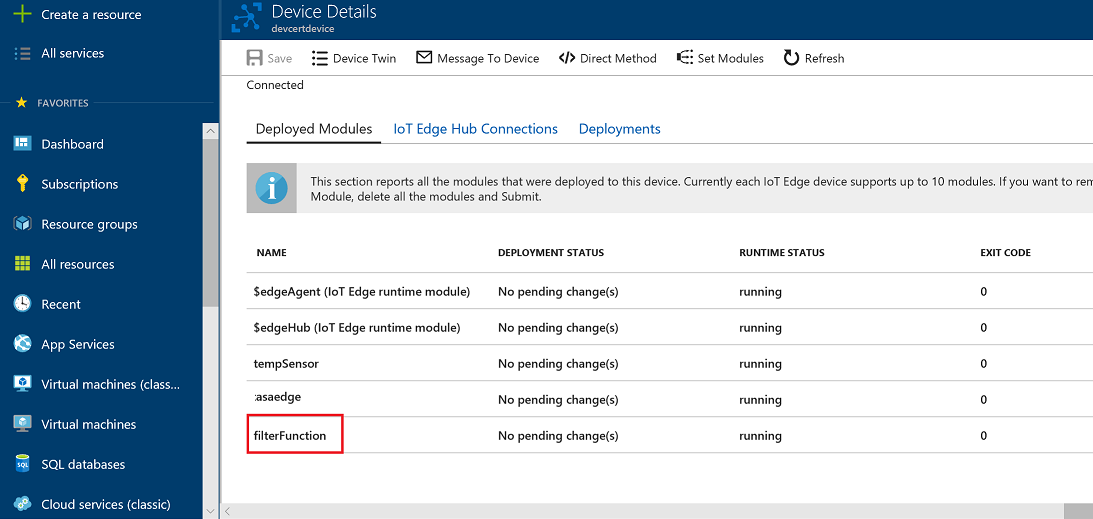
- Return to the IoT Edge device details page and click Refresh. You should see the new filterfunction module running along with the tempSensor module and the IoT Edge runtime.
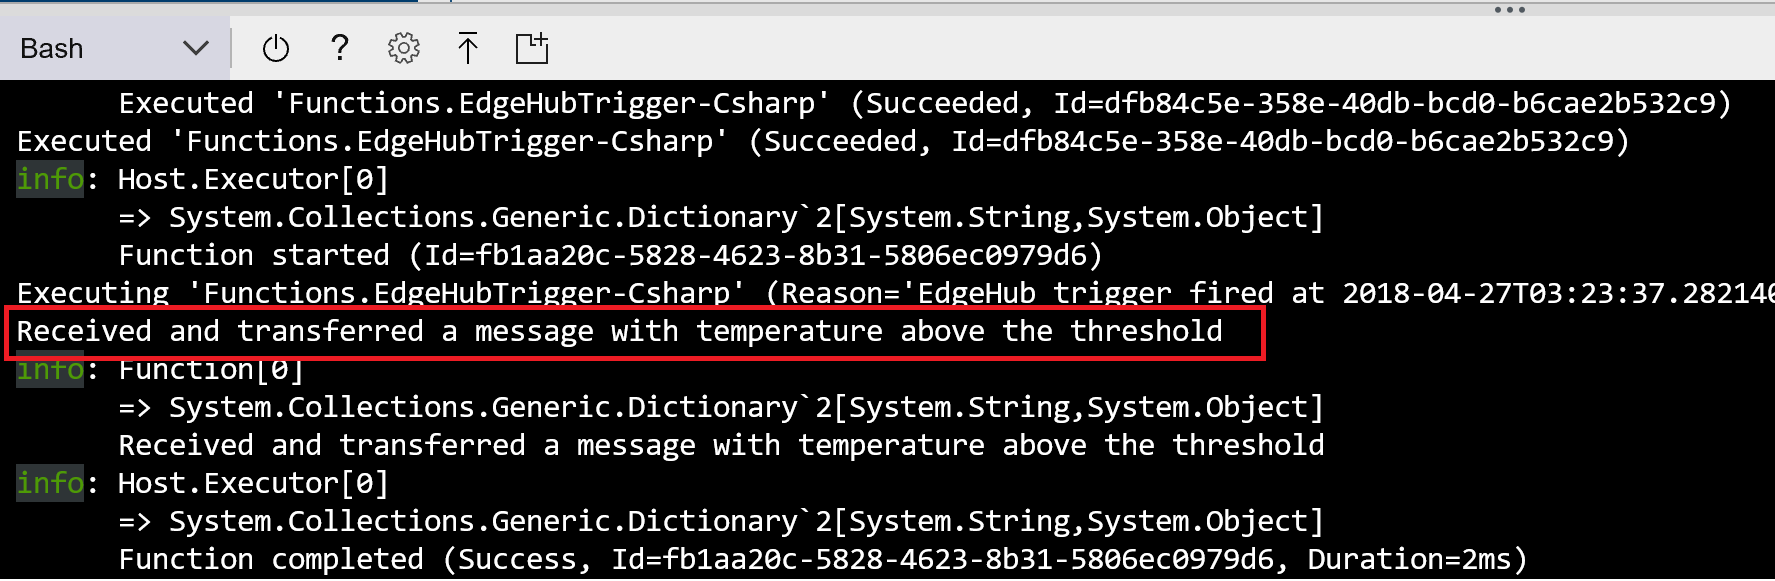
View generated data
Alerts are generated when machine.temperature is > 25